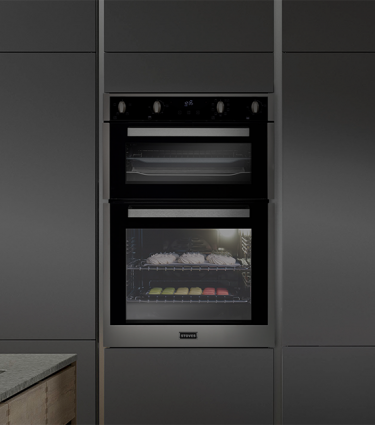
Built In Ovens FAQs
- Built-in gas ovens with electric grills are 13 amp rated. They are usually hard-wired to 13 amp fused spur cooker points to ensure that the electrical isolation switch is accessible after the oven has been installed.
- Please note that built-in gas ovens will require a gas connection.
- Single electric ovens are hard-wired to a 16-amp fused spur cooker point.
- Single electric pyrolytic ovens are hard-wired to a 20-amp fused spur cooker point.
- Double electric ovens are hard-wired to a 32-amp fused spur cooker point.
- The built-in gas ovens have a ½ inch BSP parallel internal (female) gas connection in the rear-top-right-hand corner when looking at the appliance from the front.
- The Stoves BI600G single gas built-in oven can be converted from natural gas to LPG.
- The LPG conversion kit (part number 012860223) can be ordered as an optional extra. Please contact us for more information.
- Built-in gas double ovens cannot be converted to LPG.
- The Stoves BI600G single gas built-in oven is the only current model that can be converted from natural gas to LPG.
- The LPG conversion kit (part number 012860223) can be ordered as an optional extra. Please contact us for more information.
Built In Oven
For current models:
- The full-width grill pan handle clips onto the front of the grill pan for easy use.
For older models:
- If your grill pan sits on a shelf:
- Position the two prongs on the grill pan handle facing downwards.
- Hook the prongs over a thinner section of the grill pan trim at the corner.
- Slide the handle around to the front of the grill pan between the two indentations/markings.
Important:
- The grill pan handle is designed to slide the grill pan in and out but should not be used to carry the pan.
Optional Grill Pan Handle:
- If your model wasn’t supplied with a grill pan handle, you might be able to purchase one as an optional extra here.
- Some touch-control timers feature a child-lock function.
- Please check if there is a padlock symbol showing on the display.
- If so, the child-lock will need to be deactivated.
- If the middle timer key has a circular arrow with the word ‘menu’ or ‘function’, touch and hold the plus key for about 10 seconds until the padlock symbol disappears. - For further information, please consult the user guide for your product.
- For models with the standard Maxi Clock (three touch keys, the middle timer key has a circular arrow with the word ‘Menu’ or ‘Function’) please press the middle Menu key repeatedly until 'L1', 'L2' or 'L3' appears on the display.
- Use the plus and/or minus keys to adjust the volume level, with 'L3' being the loudest.
- Yes, this is normal, as there is a cover on one side of the burner.
- The Zeus Appliance Control App is no longer available to download. We apologise for any inconvenience caused.
- Appliances built from May 2022 onwards have not had the Bluetooth-enabled timer fitted, however the oven timers are designed to be easy and convenient to use without using an app.
- For more information about the operation of your oven timer, please see the user guide for your model.
- Yes, this is normal.
- On single electric oven models with touch controls, the timer display will go dark approximately 10 minutes after the last touch of a control key, if the oven is not in use.
- This is an energy-saving function.
- Simply press any control key to switch the timer display back on.
- No, when using the defrost/dough proving function on multi-function ovens, please leave the temperature selector knob in the off position.
- Yes, on most built-in oven models the inner glass panels slide in and out of the door assembly for cleaning. Please handle the inner glass panels with care and replace them the right way round – the ‘this side up’ text must face in towards the heat of the oven and the arrows must point downwards.
- On newer models, you may need to remove the profile strip along the top of the door to access the inner glass panels.
- Never use the ovens without the inner glass panels fitted. For further information, please consult the user guide for your model.
- The shelves have 'anti-tip notches' which prevent the shelves being accidentally pulled out completely while cookware is on the shelf, to help prevent accidents.
- To remove the shelves fully for cleaning, pull the shelf forward, then lift upwards at the front to pull out fully.
